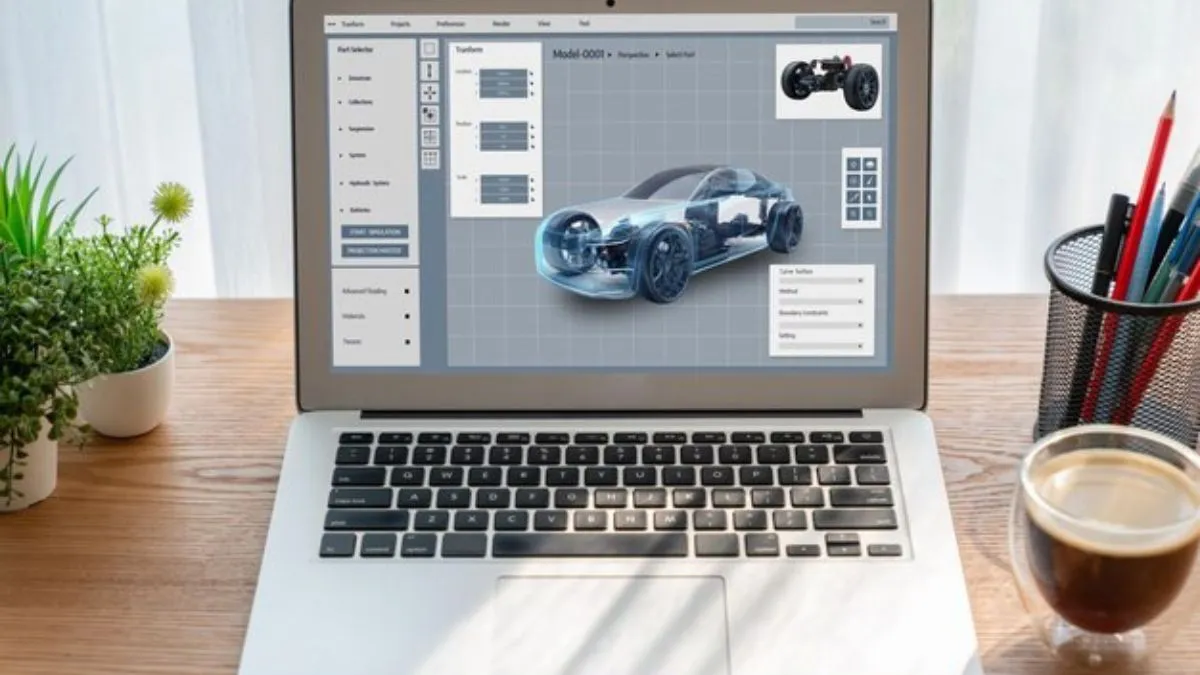
How to Improve Graphics Performance on Windows 10? Graphics performance plays an important role in many tasks, including video editing, gaming, and the general visual experience. In gaming, the graphics card determines how smoothly the game runs, especially in demanding games that require high-resolution textures and complex visual effects. Higher graphics performance means games look and run better, reducing lag and providing a better experience.
For video editing, powerful graphics processors enable faster rendering times and smoother playback of HD footage, which is necessary for professionals who must work with complex timelines with multiple layers. In everyday use, graphics performance affects how smoothly visual elements appear during tasks such as watching movies, browsing, and joining with multimedia content. Whether you’re playing games, creating content, or just looking at visuals, having a powerful graphics card will improve overall performance and make a measurable difference in speed and quality.
Windows 10 users may sometimes encounter performance issues that can severely impact overall system usage. Common performance bottlenecks include high CPU or RAM usage, slow startup times, and stuttering or lag during graphics-intensive tasks. Issues such as background applications consuming too many outdated drivers, resources, and fragmented storage can also cause slowdowns. For users who depend on graphics performance, such as video editors, gamers, or users who just want a smooth experience in daily tasks, these issues can be frustrating, affecting visual clarity, frame rates, and response times.
What will You Get in this Article?
In this article, we’ll walk you through a few steps to improve graphics performance in Windows 10 and use it more smoothly across a variety of apps. We’ll cover everything from updating drivers and optimizing settings to managing background processes and configuring power settings for balanced performance. By following these steps, users can optimize Windows 10 to better support graphics performance, improve the overall experience, and expand system usability.
Some of the Point to Improve Graphics Performance on Windows 10
How to Update Graphics Drivers?
Updating your graphics drivers is an important step in maintaining optimal performance for tasks like gaming, video editing, and other graphics-releated applications. Updated drivers ensure to get fit with the latest software and provide new features and performance improvements. Here’s how to update graphics drivers through Windows Device Administrator or using customized software provided by the GPU manufacturer.
- Open the Start menu, type “Device Manager,” and select it from the list.
- 2. In Device Manager, find and expand the “Display Adapters” section. Your current graphics card will be displayed.
- Right-click your graphics card and choose “Update driver.”
- Select “Automatically search for drivers”. Windows searches for available updates and installs them when found.
- Device Manager can be useful, but it may not always provide the latest driver versions. Manufacturer-specific software is crucial here.
For NVIDIA graphics cards, we recommend NVIDIA GeForce Experience. Not only does this software keep your drivers up to date, it also provides other features such as game optimization and GPU monitoring. Simply download and install GeForce Experience from the NVIDIA website and log in. Once logged in, go to the Drivers tab to check for and install updates.
Likewise, AMD Radeon Software provides an easy way to update AMD drivers. After downloading and installing from AMD’s official website, open the software and look for the “Update” option on the home screen or settings. You can download the latest driver from here and install it smoothly.
How to Adjust Windows 10 Visual Effects?
If you want to improve system performance in Windows 10, adjusting visual effects is an effective way to reduce extra load on your hardware. This is especially true if your system isn’t up to date or if you prioritize performance over appearance. Windows 10 presets enable various animations and visual effects that, while visually appealing, may slow down your system.
Here’s a step-by-step guide to deactivating these effects for a smoother experience.
- Right-click on the Start menu and select System.
- Click on Advanced system settings on the left sidebar.
- Under the Advanced tab, locate the Performance section and click on Settings.
This opens the Performance Options window, which displays a list of visual effects that Windows uses to improve the appearance and smoothness of transitions. Here you can choose from three presets: Let Windows choose what’s best for your computer, adjust for best appearance, and for best performance. If you want better performance, the Adjust for Best Performance option disables all visual effects, freeing up system resources for more important tasks.
How to do Custom Settings for Performance?
- Animate windows when minimized or maximized. Disabling this feature will make opening and closing windows faster.
- Show shadow under viewport: Disabling the shadow effect makes viewport movement smoother and frees up resources.
- Fade menus in or out: Turn this setting off to decrease the slight delay that occurs when menus open or close.
- Show thumbnails instead of icons: Turning this feature off improves performance when viewing folders with many images because the system does not have to load thumbnails.
After selecting your settings, click Apply and OK. This will significantly increase speed, especially on older hardware.
How to Enable Game Mode?
- Open Settings: Click on the Start menu and select Settings (the gear icon).
- Enter the game: In the settings menu, find the game option and select it to open game-related settings.
- Enable Game Mode: Click Game Mode in the left sidebar, then toggle the switch to On. This will enable Game Mode, which will automatically adjust your system resources every time you start a game.
Game Mode is designed to detect your game and optimize settings accordingly, so no further customization is required once turned on. However, while Game Mode can help reduce background tasks on most systems, its effectiveness may vary depending on your specific hardware setup. On higher-order systems, these differences may seem less noticeable, as they typically have enough resources to handle multiple tasks simultaneously.
Also Read: Which Ryzen Processor is Best for Gaming? A Complete Guide
How to Increase Virtual Memory?
Virtual memory is an important aspect of computer performance, especially when performing resource-intensive tasks or running multiple programs simultaneously. Increasing virtual memory increases the amount of memory available to your system when physical RAM is low, helping to prevent system slowdowns and crashes. Windows uses a portion of the storage disk to create virtual memory (called the page file) to handle overflow when RAM is exhausted.
Here’s a step-by-step guide on how to increase virtual memory on a Windows system:
First, open the system properties settings. To do this, right-click the Start menu, select System, and then select Advanced system settings from the left panel. In the System Properties window that opens, go to the Advanced tab and click Settings in the Performance section. This will open the Performance Options menu, where you can further adjust system settings for excellent performance.
In the Performance Options menu, switch to the Advanced tab and click Change under Virtual Memory. Here you will see a list of all disk drives on your computer and their current virtual memory locations. Uncheck the box labeled “Automatically manage paging file sizes for all drives” to enable manual customization. Select the drive to use for virtual memory (usually the main system drive) and select a custom size.
Disable Background Apps and Services
Disabling unnecessary background applications and services can greatly improve your computer’s performance. This is especially true if resources are frequently exhausted or slow. Background apps often consume CPU, memory, and battery even when they’re not actually being used. Identifying and deactivating resource-intensive background applications can free up those resources for tasks that are actually needed, improving speed and sensibility.
First, open the job manager by pressing Ctrl + Shift + Esc. In the Task Manager window, go to the Processes tab to see a list of all running applications and background processes. Here you can see the amount of CPU, disk, memory, and network used by each application or process. Sort the list by resource usage to identify applications that consume large amounts of memory or CPU power. Common resource-intensive applications may include web browsers with multiple certain games, tabs open, or software such as editing tools that continue to run in the background.
Once you’ve identified a resource-intensive app, you can temporarily stop it by selecting the app and clicking “End Task” in the lower right corner of Task Manager. For applications that you don’t want to run in the background at all, you can prevent them from starting on your system. To do this, go to the Startup tab in Task Manager and you will see a list of applications that start automatically when you turn on your computer. Right-click on unwanted apps and select “Deactivate” to prevent them from running on startup.
Do Overclocking for Advanced Results
Overclocking is an advanced technology that allows your GPU to exceed its factory-set performance limits, giving you greater graphics performance. Increasing the clock speed of your GPU is beneficial for graphics-intensive tasks such as gaming, video rendering, and 3D modeling because overclocking allows the GPU to process data faster. However, overclocking must be do with caution as it generates additional heat and power consumption, requiring a cooling system that can handle the increased heat output.
Do Regular System Maintenance and Monitoring?
Maintaining system performance through regular monitoring and maintenance is important to ensuring efficiency and longevity. Over time, components like GPUs and CPUs can increase thermal load, accumulate dust, or wear out, all of which can affect overall performance. To keep these components operating optimally, regular system maintenance and performance monitoring can help prevent potential problems and resolve them before they arise.
Use the above given information to Improve Graphics Performance on Windows 10
We’d love to hear from you! If you’ve tried any of the tips we’ve shared in this article or have your own strategies for improving graphics performance on windows 10, please share them in the comments. Your experience and insights may be helpful to other readers looking to optimize their devices. Additionally, if you find any tools or techniques that are particularly useful for monitoring and maintaining performance, please let us know!
Also Read: Top 5 Best Processor for Gaming, Streaming and Editing in 2024
